
Evan Ruiz
Owner at - Techi ShowI am a professional laptop and computer troubleshooter, tech editor who loves to talk about technology and software. My passion is electronics devices. Follow me...Read more
Did you know that you can repair your broken motherboard by replacing the BIOS chip? Yes, it’s actually a very common thing that a lot of desktop users do.
To elaborate more, desktop motherboards sometimes can get bricked or damaged due to many reasons. Consequently, desktop users have to go through the process of looking for a new motherboard and purchasing a new one.
But, that’s a huge loss in terms of money and effort, right? Well, that doesn’t have to be that case anymore.
Why? It’s because you can mostly repair your motherboard by replacing its BIOS chip. But, a motherboard has a ton of chips. So, how to identify BIOS chip on motherboards?
Actually, there are some tricks to easily find and identify the BIOS chip on a motherboard. And, luckily for you, we have explained all that right here.
Therefore, if you are someone who wants to easily repair their motherboard and save some money, stick to this instruction till the end.
How To Identify Bios Chip On motherboards? [4 Steps]
If you are a new owner of a motherboard, you probably don’t know much about your motherboard. And, that can cause you to stress over how you can identify the BIOS chip on your motherboard.

However, as we have mentioned above, finding out the BIOS chip is not all that hard. So, let’s get to know how we can easily identify the BIOS chip on the motherboard with 4 easy steps:
Step-1: Find Out Motherboard Model and Brand
The first and foremost step in the process of identifying the BIOS chip is to know which brand your desktop motherboard is.
Also, you need to pinpoint which particular model of motherboard you have installed on your desktop.
Now, if you have built the PC yourself, you should know this information from the beginning.
However, if you have no clue on which company the manufacturer of your motherboard is, you should disassemble your CPU and look for any labels that indicate the name of the manufacturer of this hardware.
Now, you need to remember here that this is not a tough job to do. Most of the time, your motherboard will have the name of its manufacturer printed or carved on its board in bold letters.
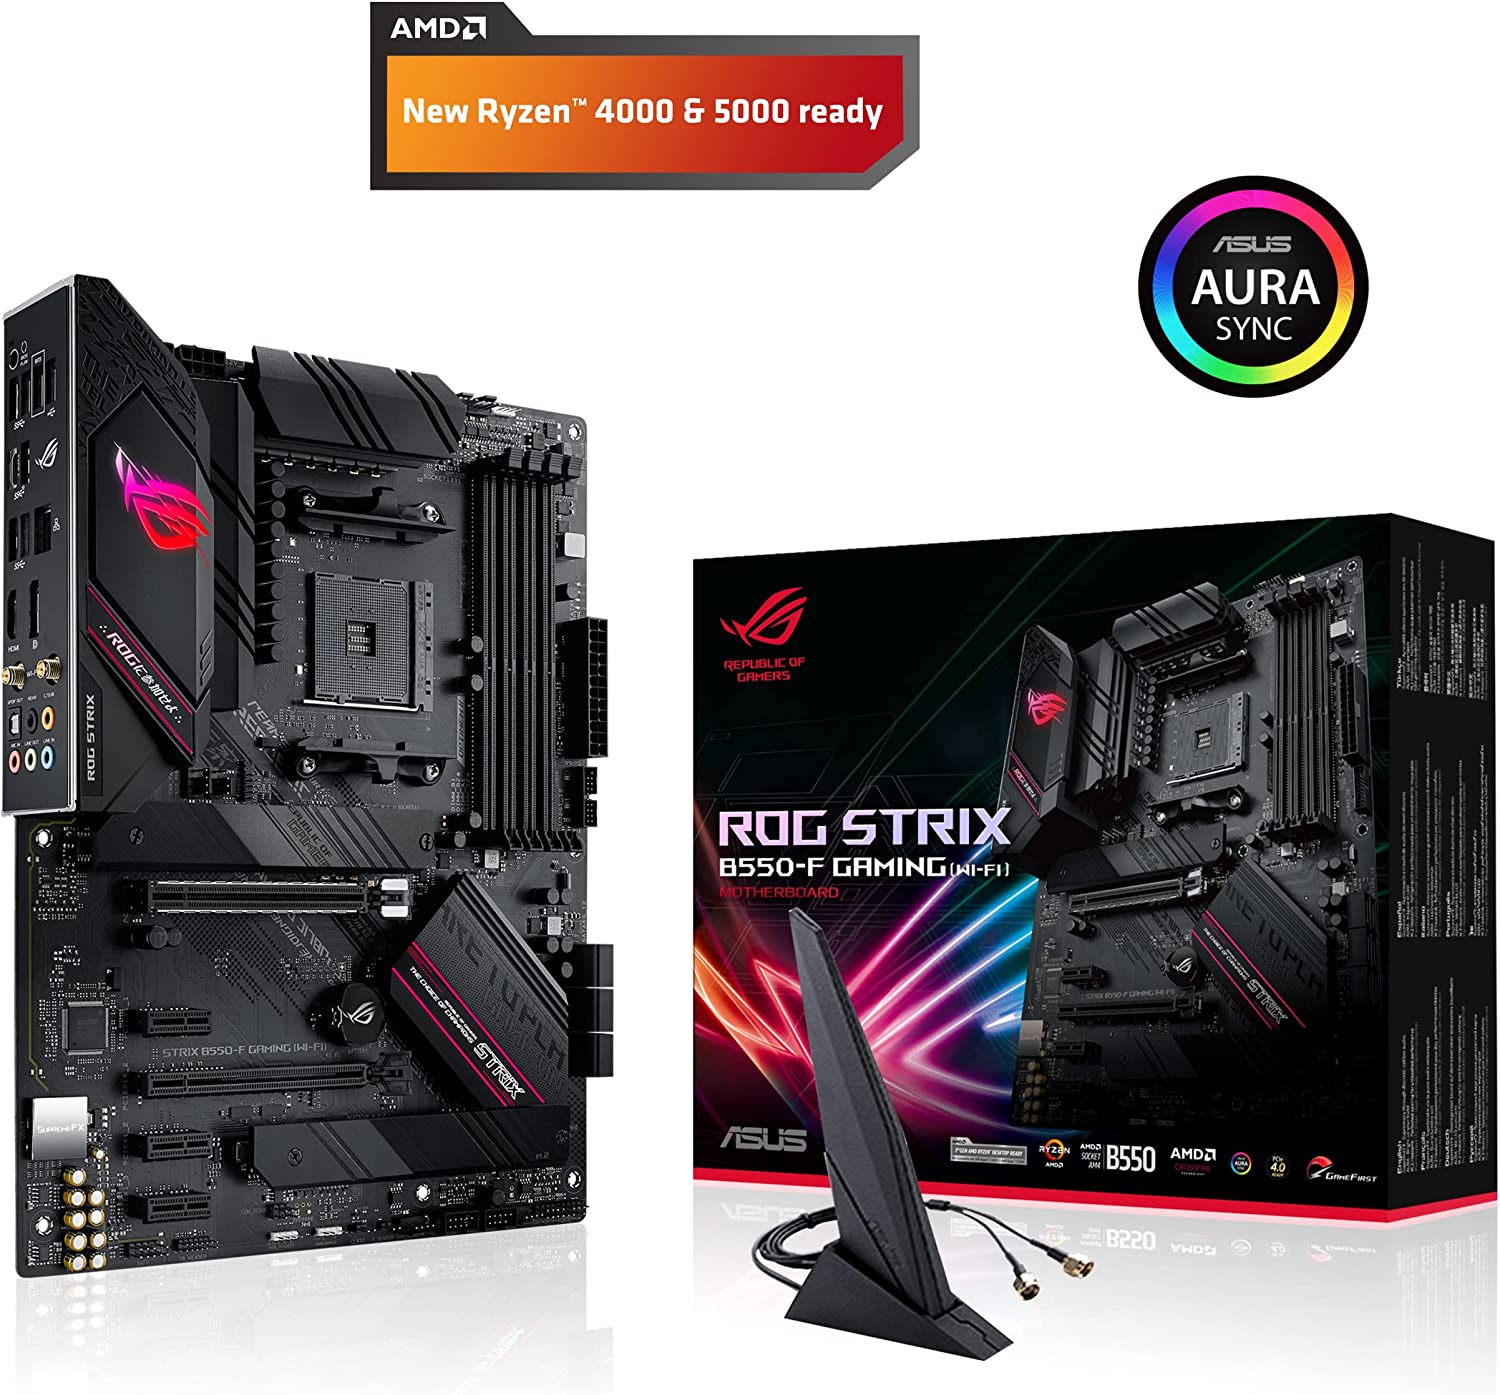
For example, the ASUS ROG Strix B550-F Gaming Motherboard has its brand name engraved in its body (see the screenshot below).
Step-2: Go To The Manufacturer’s Website For Information
Once you have ascertained the manufacturer’s name and the model name of your motherboard, the next thing you should do is go their website and look for information on that particular motherboard model.
Now, don’t worry, almost all the manufacturers put out all the info that you need to know about your motherboard on their website (for each model of motherboards).
Therefore, finding information on your particular motherboard should not be a difficult task.
Once you have got a hold of a particular web page that has information on your motherboard’s model, look for info on the BIOS of this motherboard.
As a result, you will most probably come across at least some information on the BIOS chip of your motherboard.
Step-3: Use The Manual
Don’t forget that your motherboard comes with a user manual in the package. And, now it’s time for that user manual to be properly used.
So, go ahead and open up the user manual that came with your motherboard. And, scour each page to look for any information on the BIOS chip of your motherboard.
Again, since the BIOS is an essential part of your motherboard, it is almost 100% certain that the manufacturer has laid down some info on the location of the BIOS chip on your motherboard.
Therefore, all you have to do now is read the manual of your motherboard line by line. By doing that, you will most probably get a schematic idea of where the BIOS chip on your motherboard is.
Now, even if you don’t find any information on the location of the BIOS chip, reading through the manual will give you a proper idea of how you should safely handle your motherboard. That will come in handy when you examine your motherboard in further processes.
Step-4: Uninstall The Motherboard And Examine It
If you find adequate information on the location of your BIOS chip in the previous steps, you will be able to locate your virus chip in an instance.
However, if you still aren’t able to locate the BIOS chip, it’s time to pull the motherboard out of your desktop CPU and examine it in your hand.
To do this, go ahead and disassemble your desktop CPU casing. Then, uninstall each component of your CPU one by one.
Namely, we recommend uninstalling the SSD, HDD, RAM, and power supply sockets first. Then, you should unscrew your motherboard from your CPU casing and place it on a flat table.
Now, take the motherboard into your hands and look for any label that indicates the name “BIOS”, “M_BIOS”, “UEFI BIOS”, etc. It should only take 5 to 10 minutes to fully examine the whole board and locate the BIOS chip.
Why Should You Identify The BIOS-Chip On Your Motherboard?
Now that you have known how to identify the bios cheap on your motherboard, we think you should also know why you would have to do such a thing. And, before doing that, you should also know what BIOS really means for a motherboard:

What Is BIOS On A Motherboard?
The term “BIOS” stands for “Basic Input Output System”. This is a chip or a memory section in your motherboard that contains some permanent data on how your computer is going to boot up.
To be more specific, your BIOS provides the instructions to your PC hardware to begin their functioning in the right order.
More specifically, whenever you press the power button to start up your PC, the power supply unit sends electrical energy to your motherboard. The motherboard, in turn, supplies the energy to the PC’s processor and RAM.
Now, once the RAM and processor are powered up, they need the right set of instructions to communicate with other components of your PC as well. And, that’s where BIOS plays a major role.
The BIOS provides immediate commands to your processor and RAM and directs them into the correct booting procedure.
Now, because the information on a BIOS is very crucial (that should never be modified or altered by a third party), manufacturers do not provide access to the BIOS. So, no third party can modify or alter the BIOS of a motherboard.
Why People Have To Locate (And replace) The BIOS-Chip?

A Bricked Motherboard
There are many reasons why your motherboard can get accidentally bricked. For example, if you flash the wrong firmware software on your motherboard, it will instantly make the motherboard get bricked.
Reflashing The BIOS Memory
Although the manufacturers of motherboards do not provide access to the BIOS memory, some users decide to tinker with the BIOS and access it anyway. Therefore, a lot of users reflash the BIOS memory to modify it according to their needs.
And that, in turn, can cause the BIOS to malfunction. As a result, the motherboard BIOS can get permanently damaged.
BIOS Cheap Physically Damaged
Sometimes accidents occur, and the BIOS chip can get accidentally damaged due to physical harm. For example, an accidental water spill on the motherboard will surely render its BIOS chip to get permanently damaged.
And, if this is indeed the case with your BIOS chip as well, you would need to locate that BIOS chip of your motherboard too. And, you’d also need to replace it in order to further use your motherboard.
Corrupted Firmware
Other than the above reasons, motherboards can also have their BIOS chip bricked because of corrupted firmware. Manufacturers send out OTA updates to their BIOS chips.
And, sometimes, some error can reside in a particular firmware version that is being delivered. Thus, these corrupted firmware versions can easily render the BIOS chip bricked.
Frequently Asked Questions
Can I Run My PC without A Bios?
No, you cannot run your PC without a BIOS. It’s because BIOS contains the initial commands that are needed for an operating system to boot.
Therefore, if you don’t have a BIOS installed, you cannot install an operating system and run it. That’s why you cannot run your PC without the BIOS.
Should I Update My BIOS Very Often?
Although most BIOS updates cause performance improvement, you shouldn’t update your BIOS very frequently. It’s because updating the BIOS is a risky procedure.
Why?
It’s because any power loss in the time of BIOS update will render the motherboard permanently damaged. Therefore, we recommend not updating the BIOS unless it’s necessary.
What to Do if A Power Cut Occurs at The Time of BIOS Update?
Nowadays, manufacturers are sending BIOS updates in sub-packages, which means BIOS gets updated in multiple sub downloads.
As a result, even if your BIOS update processes are interrupted by power cuts, there’s still a slim chance of your motherboard surviving any fatal damage.
So, if you face power cuts at the time of BIOS update, check if your motherboard still works. If it doesn’t, change the BIOS chip of your motherboard right away.
Conclusion
Now that you know how to locate the BIOS chip in your motherboard, you should have no problem swapping out a damaged BIOS chip and swapping in a new one.
However, if you are still having difficulty in identifying the location of your BIOS chip, we recommend that you reach out to your manufacturer’s customer care line.
More specifically, you can email your motherboard’s manufacturer and ask them to help you out in the process of replacing your BIOS chip. At last, we bid you the best of luck in the process!
I am a professional laptop and computer troubleshooter, tech editor who loves to talk about technology and software. My passion is electronics devices. Follow me on social media.
More Posts